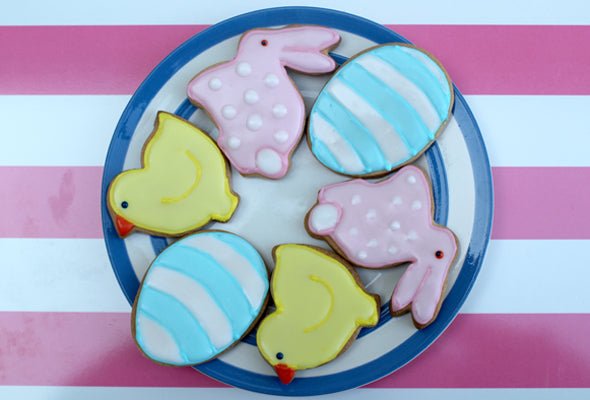
Delightful Easter Biscuits: A Fun Baking Adventure for the Whole Family!
Share
Are you looking for a delightful Easter activity to enjoy with your little ones? Look no further! We have the perfect recipe for you: Easter Biscuits! These yummy treats are not only easy to make but also a fantastic way to bond with your children during the Easter holidays.
Let's dive into the recipe and make some memories together:
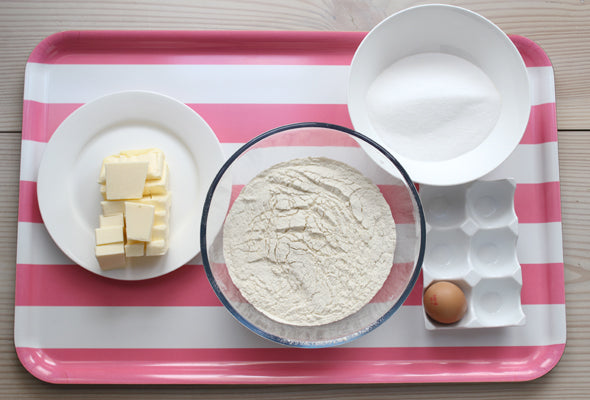
Ingredients:
- 150g caster sugar
- 200g unsalted butter
- 2 large eggs
- 400g plain flour
- 3 tbsp milk
- 250g icing sugar
- 2 tbsp water
- Food colourings of your choice
Instructions:
1. Prepare the Dough: In a mixing bowl, combine the flour, caster sugar, milk, and butter. Beat in the eggs until the mixture forms a dough.
2. Knead and Roll: On a floured work surface, knead the dough for about 5 minutes. Then, using a floured rolling pin, roll out the dough until it's approximately 7mm thick. Use your favorite cookie cutters to stamp out your cookies.
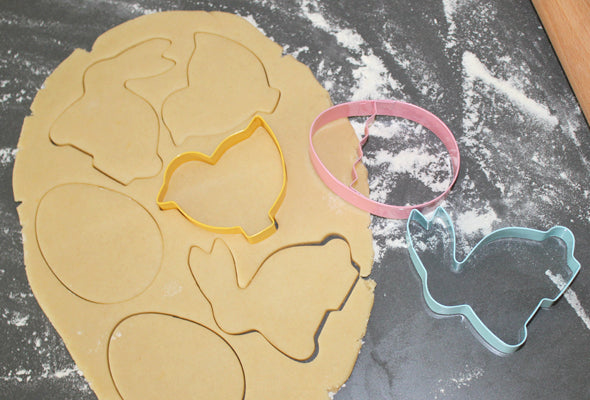
3. Bake: Place the cut-out cookies on a greased baking tray and bake in a preheated oven at 180°C for 10-15 minutes or until golden brown.

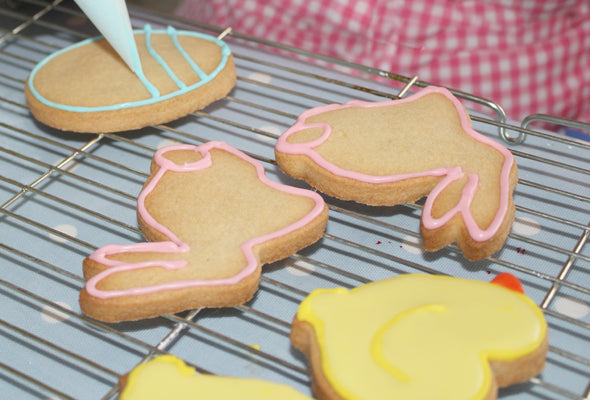
4. Decorate: Allow the cookies to cool on a wire rack. In the meantime, prepare the icing by mixing icing sugar with cold water and food coloring of your choice. Once the cookies are cool, use a piping bag to decorate them with the icing.
5. Enjoy: Now, all that's left to do is relax and enjoy your delicious Easter biscuits with your loved ones!
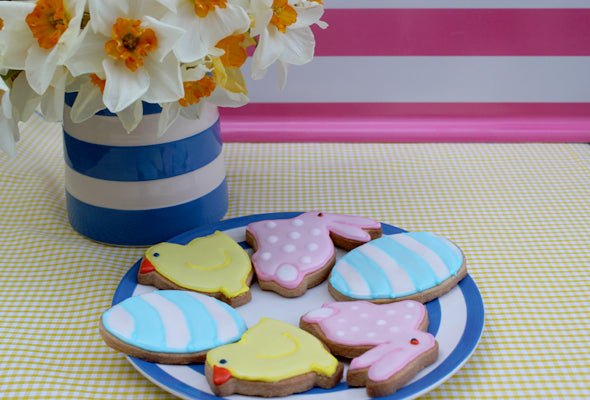
Baking Easter biscuits is not only about following a recipe; it's an opportunity to get creative and make memories that will last a lifetime. To elevate your Easter baking experience, here are some additional tips and tricks:
1. Customize Your Decorations: While the recipe suggests using food coloring for icing, don't hesitate to get creative with decorations. Consider using sprinkles, edible glitter, or even small candies to add texture and color to your biscuits. Let your imagination run wild!
2. Try Different Shapes: While traditional Easter shapes like bunnies, chicks, and eggs are classic choices, don't be afraid to explore other shapes as well. Flowers, butterflies, and even simple geometric shapes can add variety to your biscuit collection.
3. Get the Kids Involved: Baking with kids is not just about the end result; it's about the experience. Let your little ones help with mixing the dough, cutting out shapes, and decorating the biscuits. Not only will they have a blast, but it's also a fantastic way to teach them basic kitchen skills.
4. Experiment with Flavors: While the classic recipe is delicious as is, feel free to experiment with different flavors. Add a teaspoon of vanilla extract or a sprinkle of cinnamon to the dough for an extra flavor boost. You can also try using flavored icing or adding citrus zest for a refreshing twist.
5. Packaging and Gifting: Easter biscuits make delightful gifts for friends and family. Once your biscuits are baked and decorated, consider packaging them in colorful cellophane bags or decorative boxes tied with ribbon. Add a personalized tag for an extra special touch.
6. Create a Baking Tradition: Why not turn Easter biscuit baking into an annual tradition? Get together with loved ones every year to bake and decorate biscuits, creating cherished memories that will be treasured for years to come.
FAQ: Answers to Your Top Easter Biscuit Questions
1. Can I make Easter biscuits ahead of time?
Absolutely! Easter biscuits can be made in advance and stored in an airtight container for up to a week. Just be sure to wait until they're completely cool before storing them to prevent them from becoming soggy.
2. Can I freeze Easter biscuit dough?
Yes, you can freeze Easter biscuit dough for up to three months. Simply wrap the dough tightly in plastic wrap or store it in a freezer-safe bag. When you're ready to bake, let the dough thaw in the refrigerator overnight before rolling it out and cutting out shapes.
3. How do I store decorated Easter biscuits?
Once your Easter biscuits are decorated, allow the icing to set completely before storing them. Once the icing is dry, you can stack the biscuits in an airtight container, separating each layer with parchment paper to prevent them from sticking together.
4. Can I substitute ingredients in the recipe?
Yes, you can make substitutions based on dietary preferences or ingredient availability. For example, you can use margarine instead of butter, or a non-dairy milk substitute for the milk in the dough. Just keep in mind that substitutions may alter the texture or flavor of the biscuits slightly.
5. How can I prevent my biscuits from spreading too much during baking?
To prevent your biscuits from spreading too much, make sure the dough is thoroughly chilled before baking. You can refrigerate the dough for about 30 minutes to firm it up. Additionally, avoid overcrowding the baking tray and make sure your oven is preheated to the correct temperature.
6. What if I don't have cookie cutters?
If you don't have cookie cutters, you can use household items like drinking glasses or jar lids to cut out shapes. You can also simply roll the dough into balls and flatten them with the palm of your hand for a more rustic look.
7. Can I make gluten-free Easter biscuits?
Yes, you can make gluten-free Easter biscuits by using a gluten-free flour blend instead of plain flour. Just be sure to check that all of your other ingredients are gluten-free as well, especially if you're using store-bought icing or food coloring.
Remember, the most important ingredient in any recipe is love and joy. So gather your loved ones, roll up your sleeves, and let the Easter baking festivities begin!
Don't forget to capture your Easter creations and share them with us! Email your pictures to info@tobytiger.co.uk or tag us @welovetobytiger, and we'll feature them on our Instagram page.
We hope you have a fantastic time baking and celebrating Easter with Toby Tiger. Happy baking!
Warm regards, The Toby Tiger Team
